
Containers
Containers lists everything on the selected host, running or stopped. Use Show to see all, running or stopped containers, and the search box to find one by name.
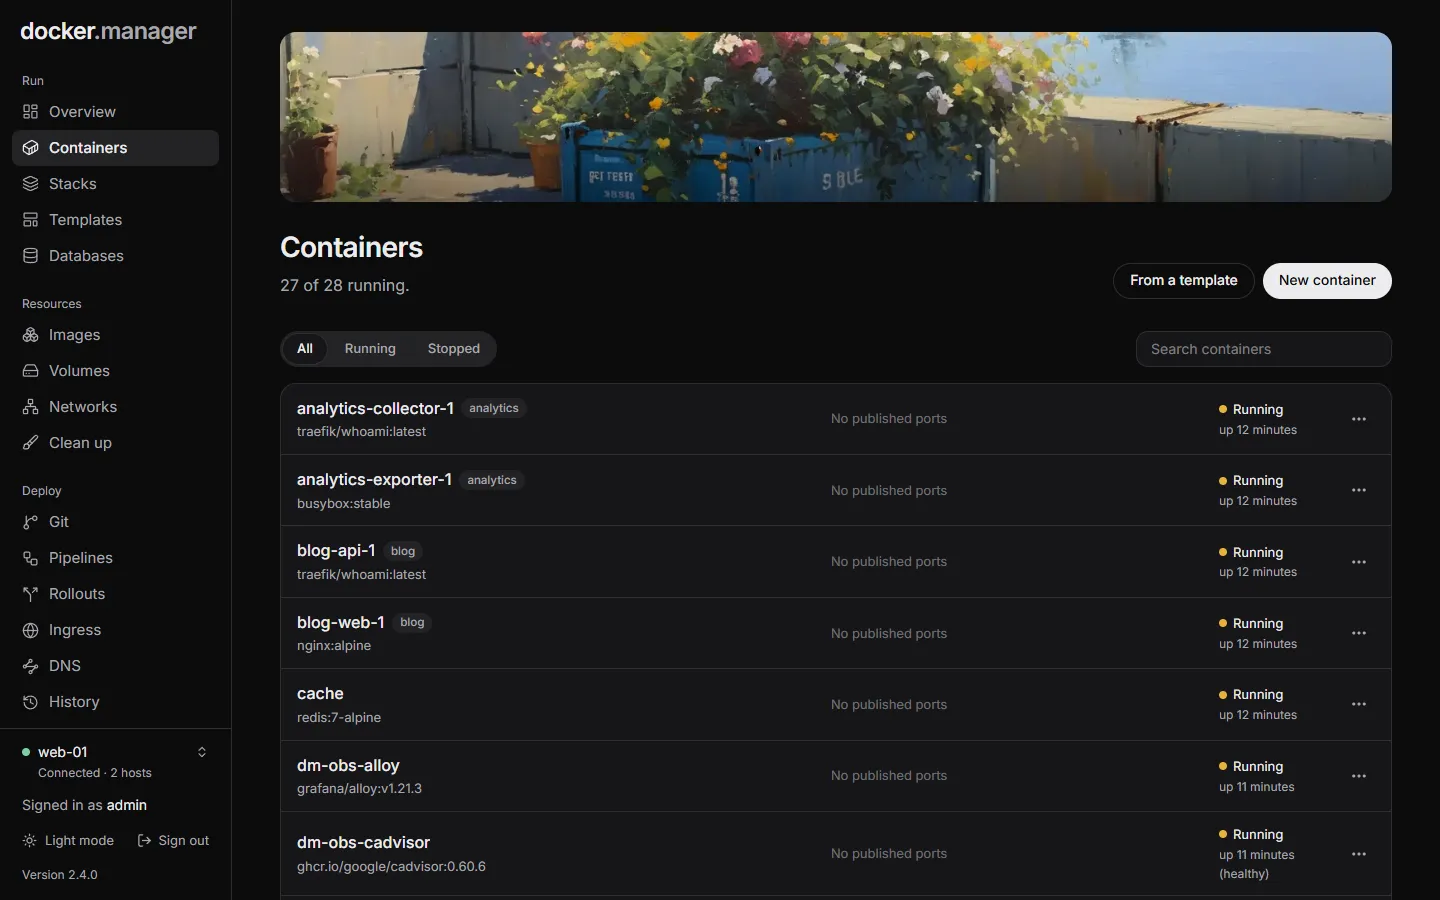
Each row has a menu with Start, Stop, Restart, Pause, Resume and Remove, depending on its state. Choose a container’s name to open its page.
Create a container
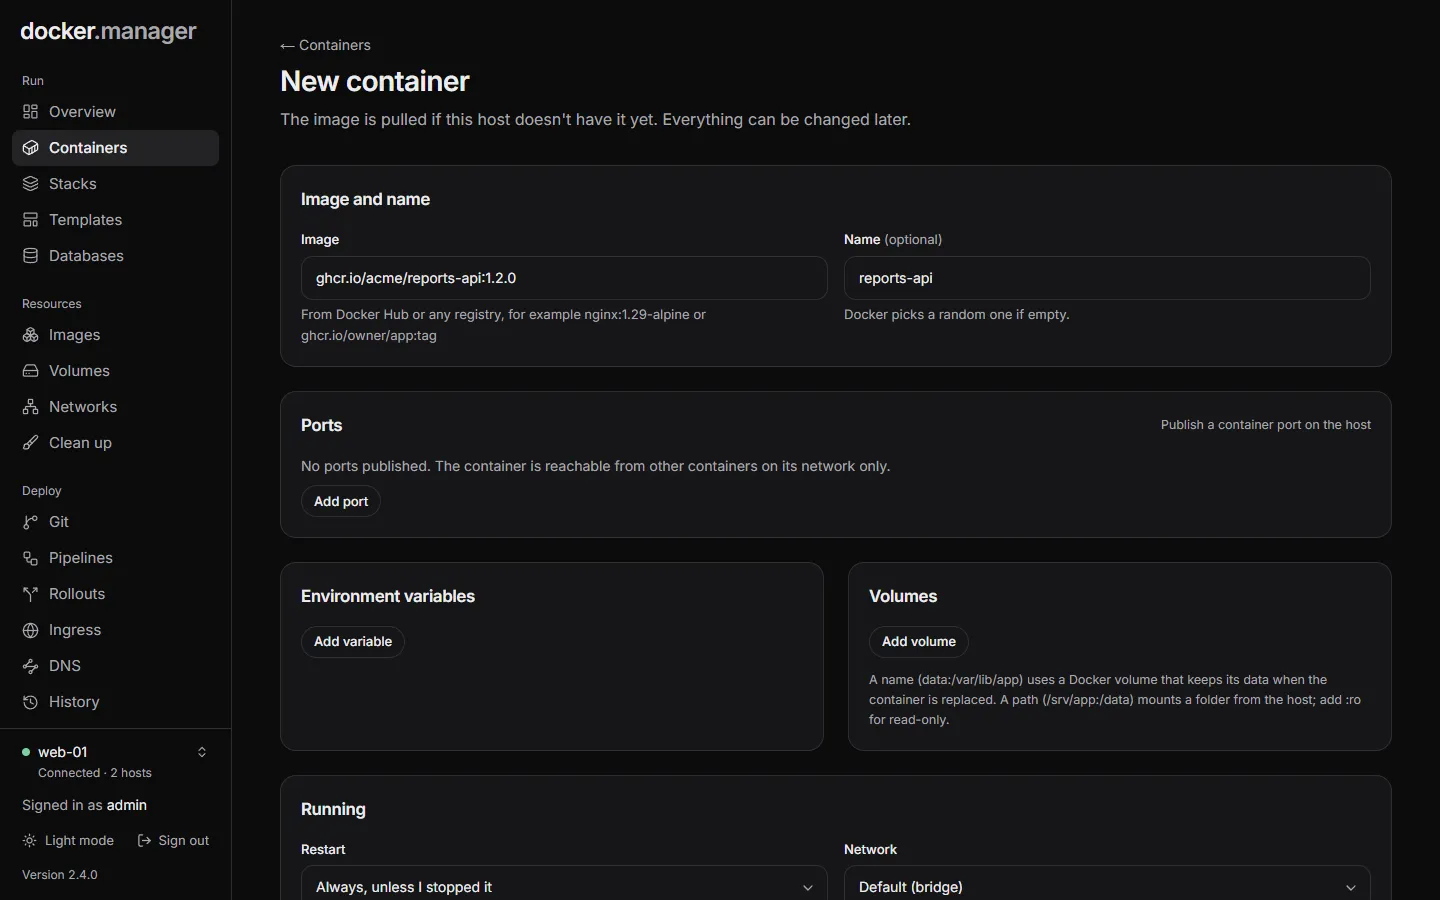
Section titled “Create a container”- On Containers, choose New container. (Or start from a template.)
- Under Image and name:
- Image: from Docker Hub or any registry, for example
nginx:1.29-alpineorghcr.io/owner/app:tag. Private images use the sign-ins saved under Registries. - Name (optional): Docker picks a random one if empty.
- Pull the newest version of the image first: otherwise the image already on this host is used.
- Image: from Docker Hub or any registry, for example
- Under Ports, publish container ports on the host if you need to reach the app from outside. Without any, the container is only reachable from other containers on its network. To put an app on a domain with HTTPS instead, use Ingress.
- Add Environment variables (
NAME=value) and Volumes:- A name, like
data:/var/lib/app, uses a Docker volume that keeps its data when the container is replaced. - A path, like
/srv/app:/data, mounts a folder from the host; add:rofor read-only. Only administrators can mount host folders.
- A name, like
- Under Running, choose the Restart policy (Always, unless I stopped it, Always, Only after a crash or Never), the Network, and whether to Start it right away.
- Advanced has the command, the user to run as, memory and CPU limits, the working directory, extra capabilities, and Privileged (full access to the host; only for software that needs it).
- Choose Create container. The image is pulled if the host doesn’t have it yet.
A container’s page
Section titled “A container’s page”The page header shows the container’s state, its image and, if it belongs to one, its stack. The buttons change with its state: Start, Stop, Restart or Resume, plus Update image and Remove.
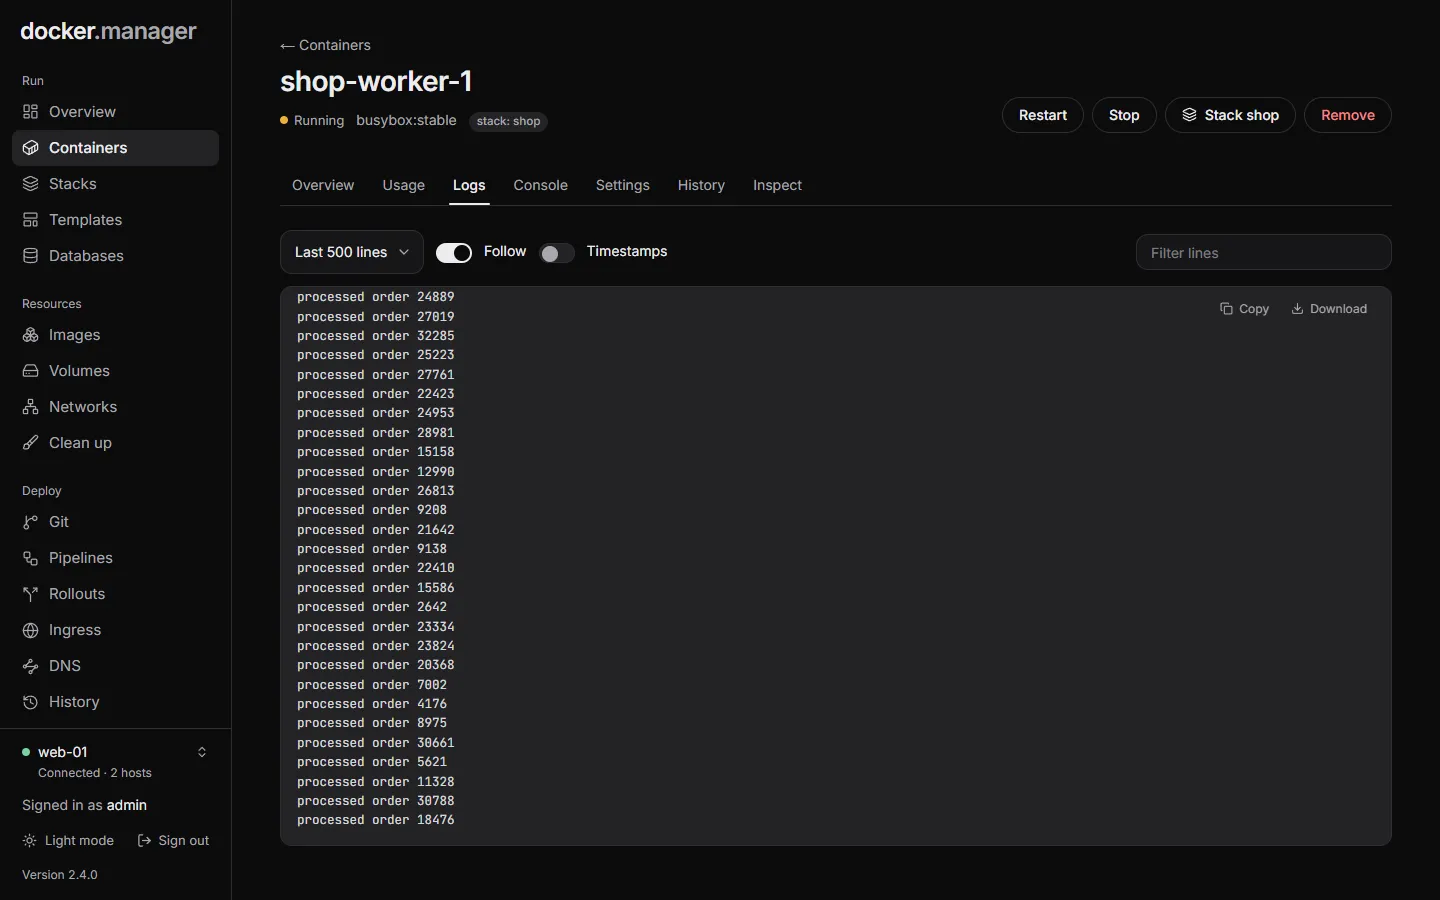
The tabs:
| Tab | What it shows |
|---|---|
| Overview | Image, created and started times, restart policy and count, command, stack, health, published ports, volumes and mounts, and environment variables (hidden until you choose Show values). |
| Usage | CPU (% of one core), memory, network traffic and processes, sampled every 3 seconds while the page is open. |
| Logs | The last 100, 500, 2,000 or 10,000 lines, with Follow, Timestamps and a filter. |
| Console | Runs commands inside the running container. |
| Settings | The same form as when creating it, to change any setting. |
| History | Changes made to this container through Docker Manager, with Undo. |
| Inspect | Docker’s full description of the container. |
If the container’s last run was stopped because it ran out of memory, the page tells you, so you can raise its memory limit.
Run a command
Section titled “Run a command”The Console tab runs one command at a time inside the container. It runs without a shell, so pipes and &&
aren’t available. Use the up and down arrow keys to go back through earlier commands. Every command is recorded in
the activity log.
Change settings safely
Section titled “Change settings safely”To change a container’s settings, open Settings, make your changes and choose Save and recreate. Docker can’t change most settings of an existing container, so Docker Manager creates a new one with the new settings and the same volumes. If the new container doesn’t start, the original is put back. Every change is recorded in History, where you can undo it.
Update to a newer image
Section titled “Update to a newer image”Update image pulls the newest version of the container’s image (for example a new :latest) and replaces the
container with one using it. Settings and volumes stay the same, and if the new one fails to start, the current one
keeps running.
Containers that belong to a stack don’t have this button: update them from the stack with Pull newest images and redeploy. See Compose stacks.
Remove a container
Section titled “Remove a container”Remove stops and deletes the container. Named volumes and their data are kept. If the container belongs to a stack, the stack recreates it on its next deploy.